42 how to cut labels on cricut
Easy Print Then Cut How to Create Stickers with your Cricut #cricut #stickers #printthencutSUPPLIES:Cricut Machine: Cutter, mats, tools: paper used: ... Printable Clear Sticker Paper: Cutting and application instructions Use the fine point blade (this is the blade that comes installed in the machine). Explore: turn the Smart Set dial to "Custom" and select the "Clear Printable Sticker Paper" setting. Maker: select the "Clear Printable Sticker Paper" setting. Press CUT. Peel the sticker paper from the liner and apply by hand. Tip: Use only an inkjet printer.
How to Make Vinyl Labels with your Cricut | Adhesive and HTV Tools & Materials. Make Vinyl Labels in Cricut Design Space. Step 1 - Type Text. Step 2 - Resize Labels. Step 3 - Change Colors & Send to Cut. Step 4 - Move Objects to Organize Mat (Optional) Section 1: Cut and Transfer Adhesive Vinyl Labels. Prepare Mat with Adhesive Vinyl. Cut & Weed.
How to cut labels on cricut
How to Make DIY Personalized Iron-On Name Labels Step 1: Cut Name on Oracal 651 Vinyl Using Vinyl Cutter. I sized the height of my kids' names at 1/2″ tall in Design Space to fit on the 5/8″ ribbon. I decided to cut my daughter's name twice to speed up the printing process. Once your vinyl cutter has cut your design, weed the letters. You will remove the letters, leaving the vinyl ... Online Labels® Sticker Paper Cut Settings for Cricut Maker We've tested the new Cricut Maker™ with OnlineLabels.com sticker paper to bring you our recommended cut settings for each material. Continue to the chart below to find the cut settings for kiss cut and full cut stickers. Materials were tested on a Cricut Maker with the fine-point blade. Each material was tested for exact pressure settings and ... Online Labels® Sticker Paper Cut Settings for Cricut Explore Air Updated 02/07/2022 • ~1 minute read. Our expert crafters have hand-tested the Cricut Explore Air™ with OnlineLabels sticker paper to bring you the exact cut settings for each material. Continue to the chart below to find the cut settings for kiss cut and full cut stickers. Materials were tested on a Cricut Explore Air with the fine-point blade.
How to cut labels on cricut. Sticker Paper Cut Settings Guide for Silhouette, Cricut, and More Sticker Paper Cut Settings. If you love your Silhouette Cameo®, Cricut Explore®, or Brother ScanNCut®, we want to help you maximize its use and get professional-looking end results! We hope this cut settings guide helps you create the stickers of your dreams. Don't forget to look over our custom sticker tutorial and list of best sticker ... How to Make Labels with a Cricut | The DIY Mommy - YouTube Learn how to make DIY vinyl labels with Cricut for organizing your home or labeling handmade products! Subscribe to my channel for more DIYs: ... Easy Print & Cut Stickers on a Cricut! - Jennifer Maker STEP 2: Print Your Stickers. Click "Make It", click the green "Send to Printer" button, make sure "Bleed" is on, then send your stickers to the printer. I recommend you print on Normal or Best setting if you have that option. Your sticker sheet will print with a black rectangle around them -- this is your Cricut's registration mark and it needs ... Make Label SVGs With Your Cricut To Get Organized Group all your labels and accompanying text; make sure to weld and then attach them together. Step 3. Making the Cut With Your Cricut. Prep your mat with your vinyl, insert it into the Cricut machine, and follow the steps to load your mat and choose your material.
Printable Labels with Print then Cut on Your Cricut Machine Click flatten in the lower right-hand corner to make this a print then cut label and it is ready for your machine! Be sure to delete any labels you don't want to use before continuing. Step 3: Making Printable Decorative Labels with Print Then Cut Now it is time to use print then cut to actually make our printable labels. Print & Cut Label Tutorial in Cricut Design Space At the upper left-hand side click the "wand" and click the image anywhere that you want the Cricut to cut out. This will be the entire background for the labels. You will see the areas as a checkerboard. 3 Ways To Make Labels With Your Cricut - YouTube FREE 5 Day Master Your Cricut Challenge: are handy! Did you know you could make labels with your Cric... Address Labels with Cricut - Crafting in the Rain Common sizes for a return address label are around 2.6 inches wide by 1 inch tall. Print then cut address labels Start by creating a rectangle that's 2.8 inches wide by .8 inches tall. Type 3 separate text lines. The first is your name. The second and third are your address. By keeping them as separate lines, they will be easier to space properly.
How To Use Cricut Print Then Cut / DIY Labels and Stickers Hi guys! In today's video you will see how easy is it to use Cricut's print then cut feature to make labels. I use it today to make some labels for strawberr... Cricut Labels: 3 Ways to Make Them - The Country Chic Cottage Type out the words you want on your labels in any font. Center the words over the rectangle. Choose both objects and click flatten to make the label a print then cut. Repeat for as many labels as you need. Print when prompted in Cricut Design Space then add to your machine for the cutting. How to Write on Tags & Labels With Cricut Pens With a (gold) pen inserted into slot A on your machine (I used the 2.0 weight ), load your template back into the machine and hit the flashing Cricut button. The machine will then re-cut your single "registration" mark (the upper left square) and then proceed to write directly onto your pre-cut items! How to Make Vinyl Labels with a Cricut Cutting Machine It turns out that the Cricut Explore Air 2 made creating labels oh-so-easy! Here is the process I used to create them: Step 1- Gather your supplies for making vinyl labels. Cricut Explore Air 2. Cutting Mat. Cricut Premium Vinyl (I used teal.)
Write and Cut on Cricut Explore - YouTube
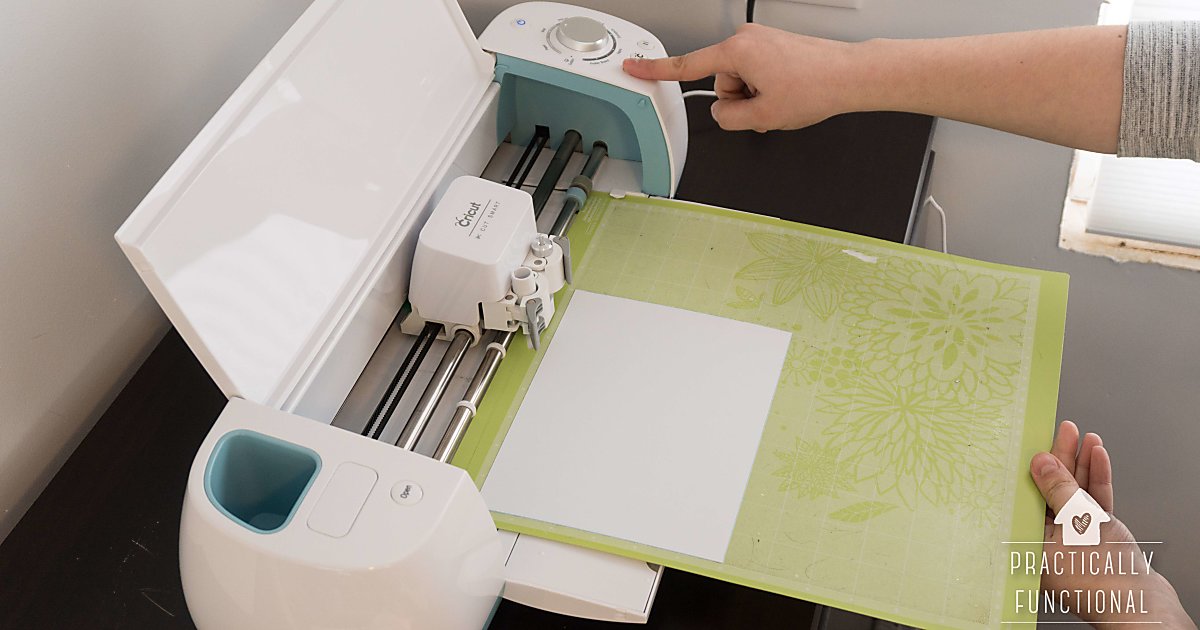
How to make labels with Cricut The software will begin to send the information from Design Space to your Cricut machine. Follow the prompts to continue to cut. Once cut, unload your material and remove the excess vinyl from around the images. We call this process, "weeding." Step 6. Apply transfer tape to the front of your design and apply to your jar!
How To Cut Vinyl With A Cricut Machine: A Step By Step Guide – Practically Functional
How to Make Clear Print Then Cut Label Stickers with Cricut - YouTube ⬇⬇ Tap for INFO & LINKS ⬇⬇Have you tried making DIY labels with your Cricut? Print then cut labels are a great project to organize your craft room, or organi...

Pin on Cricut Ideas
Make Sticker Sheets in Cricut Design Space | Design Bundles Step 8 - Cut Stickers Out. Once you have printed the stickers, you can start cutting them out using your Cricut cutting machine . Place the sticker sheet on your Cricut cutting mat and load it into the cutting machine. Continue to follow the prompts on your computer. Make sure to have your settings set to sticky note.

Cricut free, Cricut vinyl, Cricut
How to Print and Cut Round Stickers on the Cricut Go to Design Space at ; Click New Project; Click the Upload button; Browse, find, and upload the sticker file; On the next screen, under "Select Image Type," choose Simple then click Continue. On the next screen, just click Continue. On the next screen, keep it selected as "Save as print then cut image" then click Save.

Rainbow Bridge SVG Files For Cricut Silhouette (936568) | Cut Files | Design Bundles
How to make vinyl stickers with Cricut Click "Make it" in the upper right corner and follow the prompts on the software and machine through the cutting process. Once done cutting, the machine will indicate that it's time to unload the vinyl and weed the design. Weeding is simply a term used to describe removing excess vinyl from around the sticker's design.

Home Sweet Home Hand Lettered SVG DXF EPS PNG Cut File • Cricut • Silh – Kristin Amanda Designs
How to Make Vinyl Labels with a Cricut | A Comprehensive Guide Once you have your labels sized to your containers, send all your layers to be cut on your Cricut machine, again using the "Vinyl" materials setting. Start by weeding both layers, just as I've shown in the two label projects above. To layer your label, start by picking up the top layer of your design off the white paper backing with transfer tape.
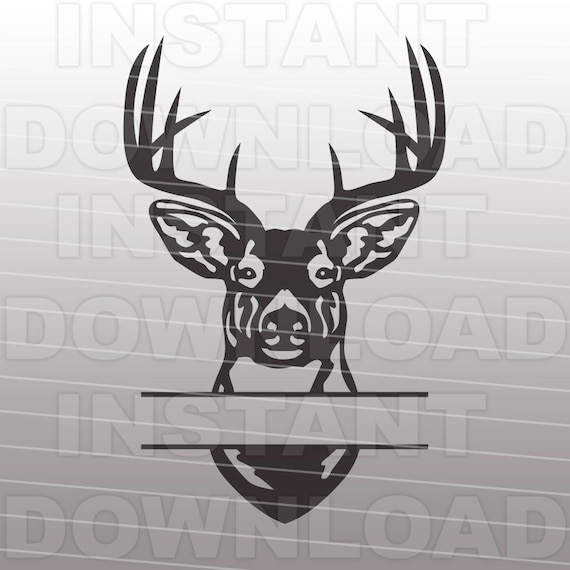
Buck Head Deer Hunting Monogram Split SVG File Cutting
A Guide To Making Labels with Cricut Print Then Cut How to Make Labels with Cricut Print Then Cut Step 1: Determine Your Needed Label Size. Before you can make custom labels, you need to know what size and shape you... Step 2: Design Your Labels In Cricut Design Space. The sky is really the limit here (and I dive into lots of design... Step 3: Print ...

Christmas ornament laser cut file Bundle of 19 (1080528) | Cut Files | Design Bundles
Kitchen Labels, How To Print And Cut On Cricut - Extraordinary Chaos Kitchen Labels, How To Print And Cut On Cricut Choose A Sticker Shape. Start by searching for labels in Cricut Design Space, there are lots of shapes to choose from. I went for a shape I could create a country style label with. There are also lots of pre designed labels all ready to customise. Size Your Print And Cut Label
Post a Comment for "42 how to cut labels on cricut"